
A CD cleaner machine can fix many annoying skips, but it cannot perform magic. It removes dust, fingerprints, grease, and light scuffs from optical discs. Some machines also polish the plastic surface. That can help a CD, DVD, or game disc play smoothly again.
TLDR: CD cleaner machines clean the shiny plastic side of discs using soft pads, cleaning fluid, and sometimes gentle polishing wheels. For example, if 7 out of 10 old music CDs skip because of fingerprints or light scratches, a basic cleaner may bring most of them back. A cracked disc, a warped disc, or a disc with label-side damage is usually done for. Clean discs gently, store them in cases, and never scrub them like a dirty dinner plate.
What Is a CD Cleaner Machine?
A CD cleaner machine is a small device made to clean optical discs. That means CDs, DVDs, Blu-ray discs, and many video game discs.
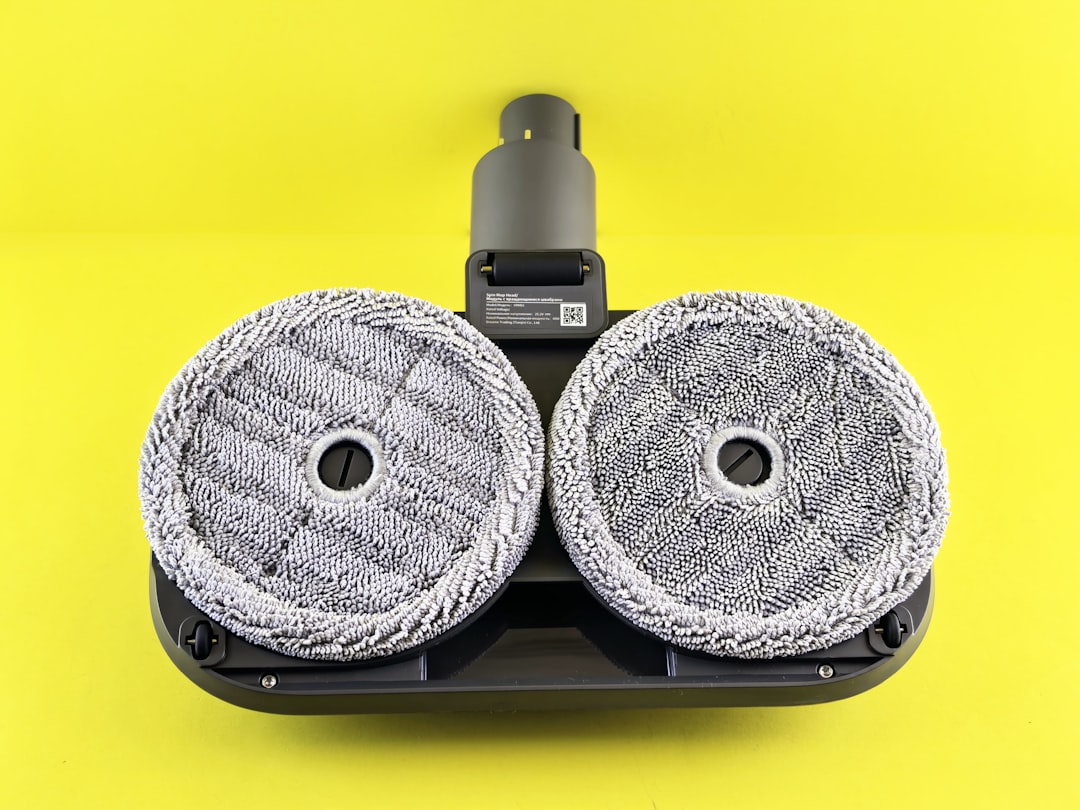
It usually looks like a tiny plastic box. You open it. You place the disc inside. Then the machine spins or rubs the disc with soft cleaning pads.
Some models are very simple. You turn a handle by hand. Others use batteries or a power cable. Fancy ones can polish scratches too.
Honestly, it feels like a tiny car wash for your old albums. Except the car is a shiny circle. And the soap is much less dramatic.

How CD Cleaner Machines Work
Most CD cleaner machines use three basic parts:
- Soft pads that touch the disc surface.
- Cleaning fluid that loosens grime.
- A spinning motion that spreads the pressure evenly.
The disc goes in with the shiny side facing the cleaning pads. The machine moves the pads across the surface. This wipes away dust and oily marks.
Better machines do more than wipe. They use a light abrasive polish. That sounds scary, but it is usually mild. It removes a very thin layer of plastic from the data side. That can smooth out small scratches.
The data on a CD is not printed on the bottom. It sits closer to the label side. The bottom is clear plastic. The laser reads through it. So light scratches on the shiny side can block the laser. Polishing can help the laser “see” again.
The catch is that polishing takes off material. Do it too often and you can wear the disc down. A disc is not a potato. Do not peel it forever.
Types of CD Cleaner Machines
There are a few common types. Each one has a job.
1. Manual Disc Cleaners
These are cheap and simple. You add a drop of liquid. Then you turn a small handle. The pads wipe the disc.
They are good for dust, fingerprints, and mild dirt. They are not great for nasty scratches.
2. Motorized CD Cleaners
These use a small motor. Press a button and the machine does the spinning. Nice.
They give more even cleaning than a hand crank. They are good for home use. Expect to waste time on cheap ones that stop after 20 seconds and need another button press. Annoying, but not tragic.
3. Disc Repair or Resurfacing Machines
These are stronger. They polish the plastic surface. Some use buffing wheels. Some use liquid polish. Some have several steps.
Stores that repair game discs often use this kind. It can make a scratched disc look almost new. But it costs more. It also needs care.
What Can a CD Cleaner Machine Clean?
A good cleaner can handle plenty of everyday messes.
- Fingerprints: The classic villain. Greasy fingers confuse lasers.
- Dust: Tiny bits can cause skips and read errors.
- Light dirt: Shelf grime, case dust, and mystery smudges.
- Oily film: Common on discs handled often.
- Light scuffs: Some repair machines can smooth them out.
- Sticker residue: Sometimes, but only with safe cleaner and patience.
A cleaning machine is great for a CD that skips during one song. It can also help a DVD that freezes on a menu. Game discs may load faster after cleaning too.
What It Cannot Fix
This part matters. A machine cannot save every disc.
- Cracks: Do not use cracked discs. They can break inside a player.
- Warping: Heat damage is usually permanent.
- Deep gouges: If your fingernail catches hard, repair may fail.
- Label-side scratches: These are serious on CDs.
- Disc rot: Brown spots, pinholes, or peeling layers are bad news.
- Bad recordings: A cleaner cannot fix a poorly burned disc.
Here is the sneaky part. The label side of a CD is fragile. Damage there can harm the actual data layer. So do not scrape stickers off with a knife. Please. Your disc is already nervous.
How to Use a CD Cleaner Machine
Always read the machine instructions first. Yes, boring. Still useful.
- Check the disc for cracks.
- Blow off loose dust first.
- Place the disc in the machine correctly.
- Add only the recommended fluid.
- Run the cleaning cycle.
- Remove the disc by the edges.
- Let it dry fully before playing.
Use small amounts of fluid. More liquid does not mean more clean. It just means more mess.
How to Clean a Disc by Hand
No machine? No panic.
Use a clean microfiber cloth. Wipe from the center hole outward in straight lines. Do not wipe in circles. Circular scratches can follow the data track. That is bad.
Use a little distilled water if needed. For greasy marks, use a small amount of disc-safe cleaning solution. Dry with a soft cloth.
Never use paper towels. They can scratch. Never use window cleaner. It can be too harsh. Never use toothpaste unless you enjoy chaos and regret.
How to Maintain Optical Discs Properly
Good storage beats cleaning later. Every time.
- Hold discs by the edges. Avoid touching the shiny side.
- Use proper cases. Sleeves can rub against the surface.
- Keep discs cool. Heat can warp them.
- Avoid sunlight. UV light can age materials.
- Keep drinks away. Soda and CDs are not friends.
- Label with soft markers only. Do not use ballpoint pens.
- Clean only when needed. Too much cleaning can wear discs.

Best Habits for Long Disc Life
Put discs back in their cases right after use. This one habit solves half the problem.
Do not stack bare discs. The bottom of one disc can scratch the top of another. That is how a music night becomes a tiny plastic crime scene.
Keep a microfiber cloth near your player. If a disc looks smudged, clean it before loading. A player tray can drag grit across the surface.
Back up rare discs when legal in your area. Old family video DVDs and rare software discs deserve a safety copy. Plastic ages. Drives fail. Shelves get dusty. Life happens.
When Should You Use a CD Cleaner Machine?
Use one when a disc skips, freezes, or refuses to load. Also use one when you see visible smudges.
Try gentle cleaning first. Then test the disc. If it still fails, consider polishing. Start mild. Move up only if needed.
For valuable discs, be careful. A rare game or collectible album may be worth professional repair. Cheap machines can help, but they can also leave swirl marks if the pads are dirty.
How to Maintain the Cleaner Machine
The cleaner needs care too. Dirty pads just move grime around.
- Replace pads when they look flat or stained.
- Keep the lid closed when not in use.
- Use only approved fluids.
- Wipe spills right away.
- Remove trapped dust from the tray.
- Store it in a dry place.
If the machine makes rough sounds, stop using it. Check for a loose pad or stuck grit. One tiny hard particle can scratch many discs. Rude little pebble.
Final Takeaway
A CD cleaner machine is a handy tool for smudged, dusty, and lightly scratched discs. It can save music, movies, games, and old data discs from the junk drawer. Use it gently. Store discs well. Treat every disc like it holds your favorite song, because one day it might.