
Choose photo and video editing software by matching it to the work you make most often, not the fanciest demo reel. If you edit portraits, reels, client ads, and YouTube clips, pick tools that share files well, run smoothly, and fit your budget.
TLDR: For most creators, the best setup is one strong photo editor, one strong video editor, and a clean file system. For example, a wedding creator editing 600 photos and a 4 minute highlight video can save hours by using presets, proxy files, and synced folders. If your software crashes twice a day, that “cheap” tool is suddenly very expensive. Start simple, then upgrade when paid work demands it.
Start with the work, not the logo
Every editing app promises magic. Smooth skin. Perfect skies. Movie color. Instant captions. A dragon riding a skateboard through space.
Cool. But ask one plain question first:
What do I need to finish this week?
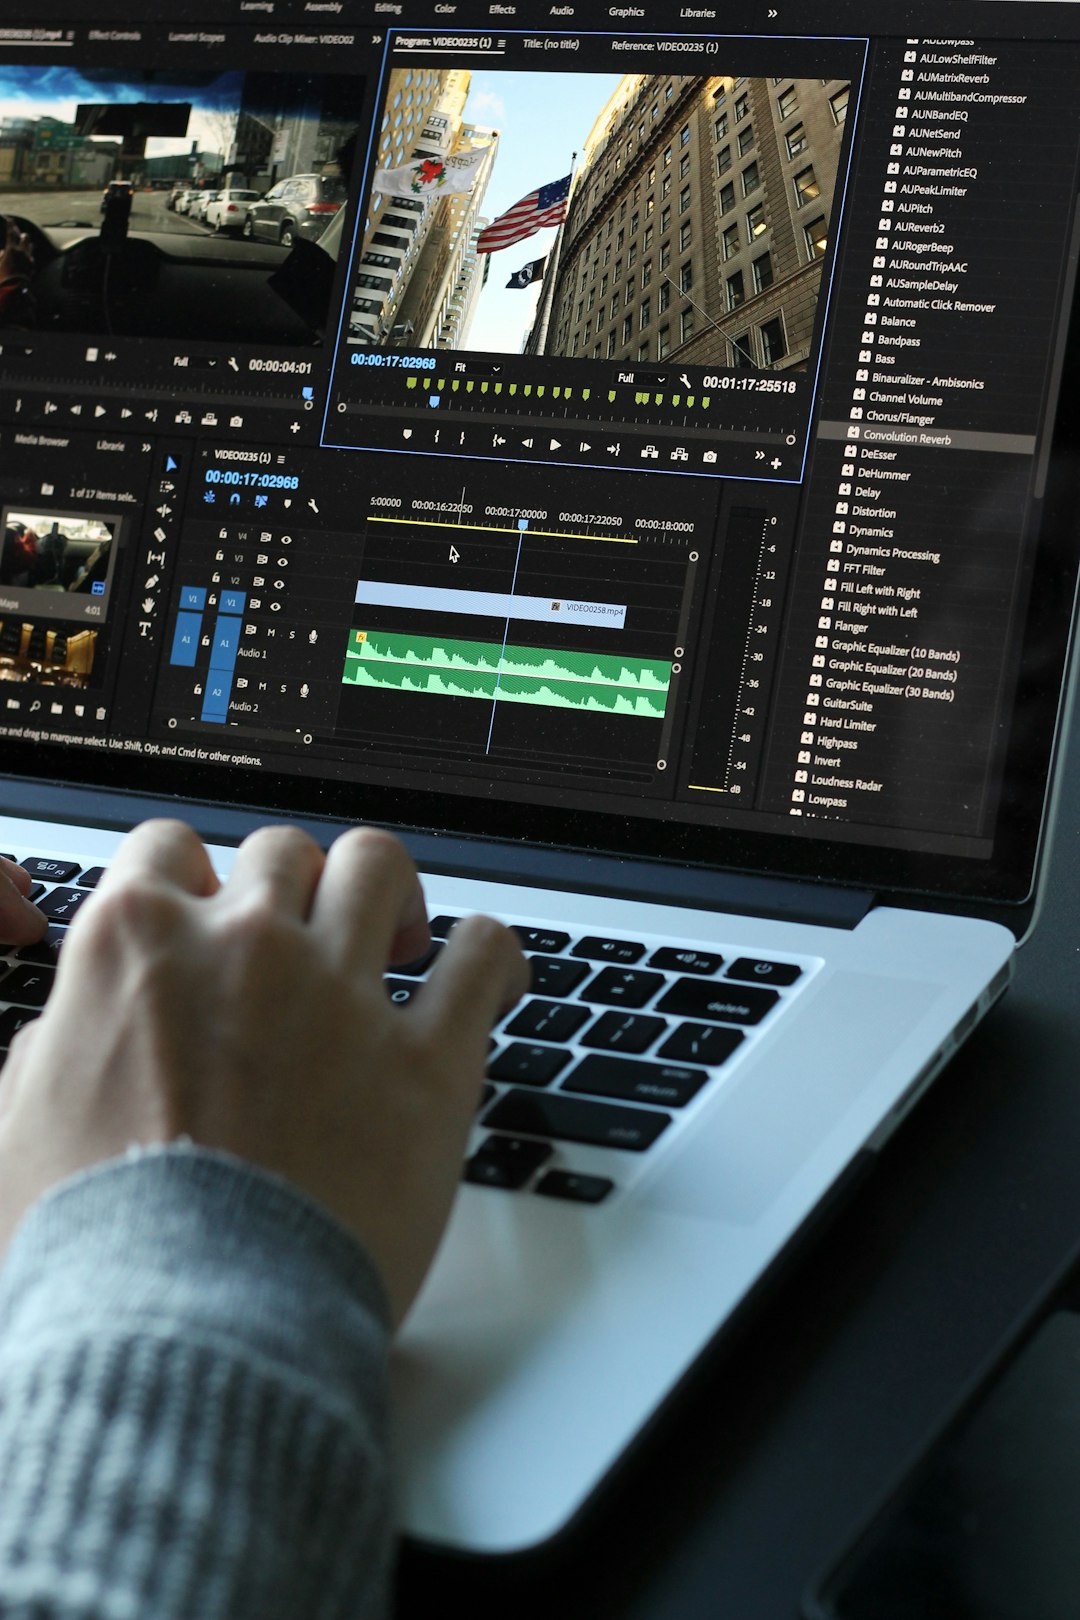
If you mostly edit photos, you need strong tools for color, exposure, retouching, batch edits, and exports. If you mostly edit video, you need a solid timeline, clean audio tools, titles, transitions, and stable playback.
If you do both, you need tools that play nicely together. That means shared color settings, easy exports, similar shortcuts, and files that do not turn into a cursed folder swamp.
The three main types of editing software
Most tools fall into three simple groups.
- Beginner apps: Great for quick edits, social posts, and simple videos. They are easy to learn. They can feel limited later.
- Creator apps: Good for YouTube, product photos, short films, weddings, and brand content. They balance power and speed.
- Pro studio apps: Built for teams, large projects, advanced color, motion graphics, and high-end delivery.
Do not buy a spaceship if you need a scooter. A simple app can be the right choice if it helps you finish faster.
What to look for in photo editing software
A good photo editor should make common fixes feel easy. Light. Color. Crop. Sharpness. Noise. Skin. Background cleanup.
Look for these features:
- RAW support: This gives you more room to fix exposure and color.
- Batch editing: Edit one photo, then apply the style to many.
- Non destructive edits: You can change your mind later. Your original file stays safe.
- Presets: These speed up repeat work. Great for weddings, products, and social sets.
- Retouching tools: Useful for skin, dust, flyaway hair, and tiny distractions.
- Export controls: You need the right size, format, and quality for web, print, and clients.
Honestly, it feels like some apps hide basic export settings just to test your patience. If it takes 8 extra clicks to save a simple JPEG, that gets old fast.
What to look for in video editing software
Video editing is a different beast. It has sound. Motion. Timing. Effects. Captions. Maybe a client asking, “Can we make it pop?” with no other detail.
Look for these features:
- A clean timeline: You should be able to cut, trim, move, and stack clips fast.
- Proxy editing: This lets big video files play smoothly on weaker computers.
- Audio tools: Bad sound ruins good video. You need noise reduction, levels, and music control.
- Color tools: Match clips from different cameras. Fix weird lighting.
- Text and captions: Short videos need captions. Many viewers watch with sound off.
- Export presets: You need quick settings for YouTube, TikTok, Instagram, and client review files.
It drives me crazy when a video app plays fine during editing, then turns a 30 second export into a 12 minute coffee break. Test export speed before you commit.
Should you use one app or two?
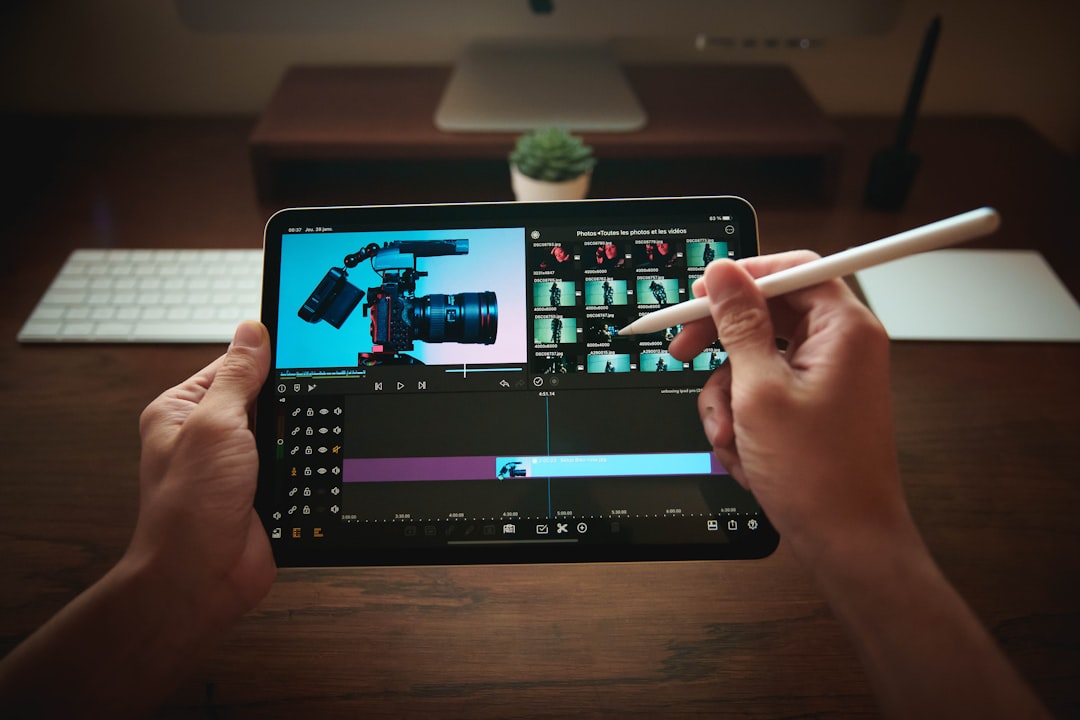
Some software tries to handle both photo and video. That can be great for simple content. You import media, adjust color, add text, export, and move on with your life.
But for serious work, two focused apps are often better. One for photos. One for video. This gives you deeper controls and fewer weird compromises.
Here is a simple rule:
- Social creator: One all in one app may be enough.
- Photographer who posts reels: Use a photo editor plus a simple video tool.
- Videographer who shoots thumbnails: Use a video editor plus a photo editor for stills.
- Agency or studio: Use pro tools with shared storage and team review features.
Check your computer before your wallet cries
Editing software loves power. Video software loves even more power. Before buying, check your computer specs.
- RAM: 16 GB is a good start. 32 GB feels better for video.
- Storage: Use fast SSD storage. Video files are hungry.
- Graphics card: Helpful for effects, color tools, and smooth playback.
- Screen: A good display helps color accuracy. A bad screen lies to your face.
If your laptop sounds like a tiny jet engine during a simple edit, your software is not the only problem.
Build a workflow that does not make you scream
Good software matters. A good workflow matters more.
Try this simple flow:
- Import: Copy files into one project folder.
- Sort: Mark the best shots and clips.
- Edit photos first: Create the look and color style.
- Edit video next: Match the same mood in your video grade.
- Add music and sound: Keep voice clear. Do not let music bully the story.
- Export drafts: Send review files at smaller sizes.
- Export final files: Use the exact format needed for each platform.
- Archive: Save the project, final exports, and key source files.
Use clear folder names. Try this:
- 01 Photos RAW
- 02 Photos Edited
- 03 Video Footage
- 04 Audio
- 05 Project Files
- 06 Exports
Boring? Yes. Life saving? Also yes.
Think about team and client work
Professional projects need more than shiny filters. You need review tools, version control, licenses, backups, and repeatable results.
For client work, check these points:
- Can you share review links?
- Can clients comment on exact frames?
- Can you save brand colors and title styles?
- Can the software handle 4K or higher without crying?
- Can you reopen old projects six months later?
That last one matters. Clients love asking for “one tiny change” long after everyone has moved on.
Free, subscription, or one time payment?
Free tools are great for learning. Some are shockingly powerful. The tradeoff is support, updates, templates, cloud features, or speed.
Subscriptions keep tools fresh. You often get updates, cloud sync, and mobile apps. The monthly cost can sting, though.
One time payment tools feel nice because you pay once. Just check upgrade rules. Some charge again for major versions.
Pick by income and usage:
- Hobby: Free or low cost tools are fine.
- Side hustle: Pay for speed if it saves time.
- Professional: Pay for stability, support, and quality exports.
Test before you choose
Do not judge software from screenshots. Download trials. Edit a real project. Use your own camera files. Export a final file.
Time yourself. How long does it take to import 100 photos? How smooth is a 4K clip? How easy is it to add captions? Can you find your exports without opening five mystery menus?
Make a scorecard:
- Ease of use: 1 to 5
- Speed: 1 to 5
- Photo tools: 1 to 5
- Video tools: 1 to 5
- Export options: 1 to 5
- Price: 1 to 5
The winner is not always the most famous tool. It is the one you can use well, under pressure, with a deadline breathing on your neck.
Final pick checklist
Before you commit, ask these quick questions:
- Does it support my camera and phone files?
- Can I learn the basics in one weekend?
- Does it run well on my computer?
- Can it export for the platforms I use?
- Will it still work when my projects get bigger?
- Does it fit my real budget?
The best editing software is the one that helps you finish strong work without fighting the tool all day. Fancy effects are fun. Fast edits, clean files, stable exports, and happy clients are better.