
Ever tried to build something and ended up with extra screws and three leftover planks? You’re not alone. Luckily, visual instructions can make building much easier—and more fun! Whether you’re assembling furniture, creating a model, or building DIY projects, this guide will walk you through the process in a simple, entertaining way.
TLDR:
Visual instructions are your best friend when building anything. They keep things simple, step-by-step, and give you a sneak peek of what the final product should look like. Pay attention to arrows, icons, and matching parts. With a little focus and some fun, you’ll build like a pro!
1. Get to Know What You’re Building
Before you dive in, take a minute. Flip through the instruction booklet, or open the app if it’s digital. Look at the finished product photo or image on the box. That’s your goal!
Check what the object is supposed to do. Is it a chair? A rocket model? A birdhouse? Understanding the purpose helps you figure out how solid or precise your assembly needs to be.
Oh—and this sounds obvious, but:
- Count your pieces! Make sure everything’s there before you begin.
- Find a clean space to work. You don’t want to lose small parts!
2. Know the Common Icons and Symbols
Visual instructions use their own little language. Once you learn it, you’ll build quicker and smarter. Look for these:
- Arrows: Show directions or movements (rotate, slide, snap in place).
- Numbers: Match parts (like “Part 5” goes into “Step 5”).
- Crossed-out images: A big red X usually means “Don’t do this!”
- Warning signs: These might show hands getting pinched—so watch out!
Learning these simple icons can be the secret weapon in your building journey.
3. Sort Your Pieces
Your future self will thank you. Take 5 to 10 minutes to lay everything out neatly. Sort by:
- Size
- Shape
- Color (if needed)
Use small containers or just make piles. This step saves you tons of time later when you’re on step 22 and searching for that one tiny screw.
4. Understand the First Step (And the Logic Behind It)
The first step always sets the stage. It’s like laying the foundation for a house. Don’t rush this.
Take a good look at the visual. What pieces are being used? How do they fit? Ask yourself:
- What direction are the parts facing?
- Which hole does which piece go into?
- Are tools needed yet? (Sometimes they include a free tiny screwdriver!)
Follow the arrows. Match your parts to the picture. Lay them out before you attach anything!
5. Go Step-by-Step Like a Puzzle
This is where it gets fun! Each step is like solving a mini puzzle. Just follow the visual clue to the next phase. If it’s a Lego set, for example, every brick has its place in the “puzzle picture.”
A few tips:
- Don’t skip ahead. You might miss a crucial screw.
- Check each step off in your mind (or with a pencil).
- Double-check before tightening anything permanent.
Sometimes instructions show two steps at once on the same page. Look closely. Divide it mentally into part A and part B if needed.
6. When Photos Are Better Than Words
Some kits come with actual photographs or 3D images instead of drawings. Use these to your advantage!
Photographic instructions often show:
- Angles
- Texture
- Size comparison
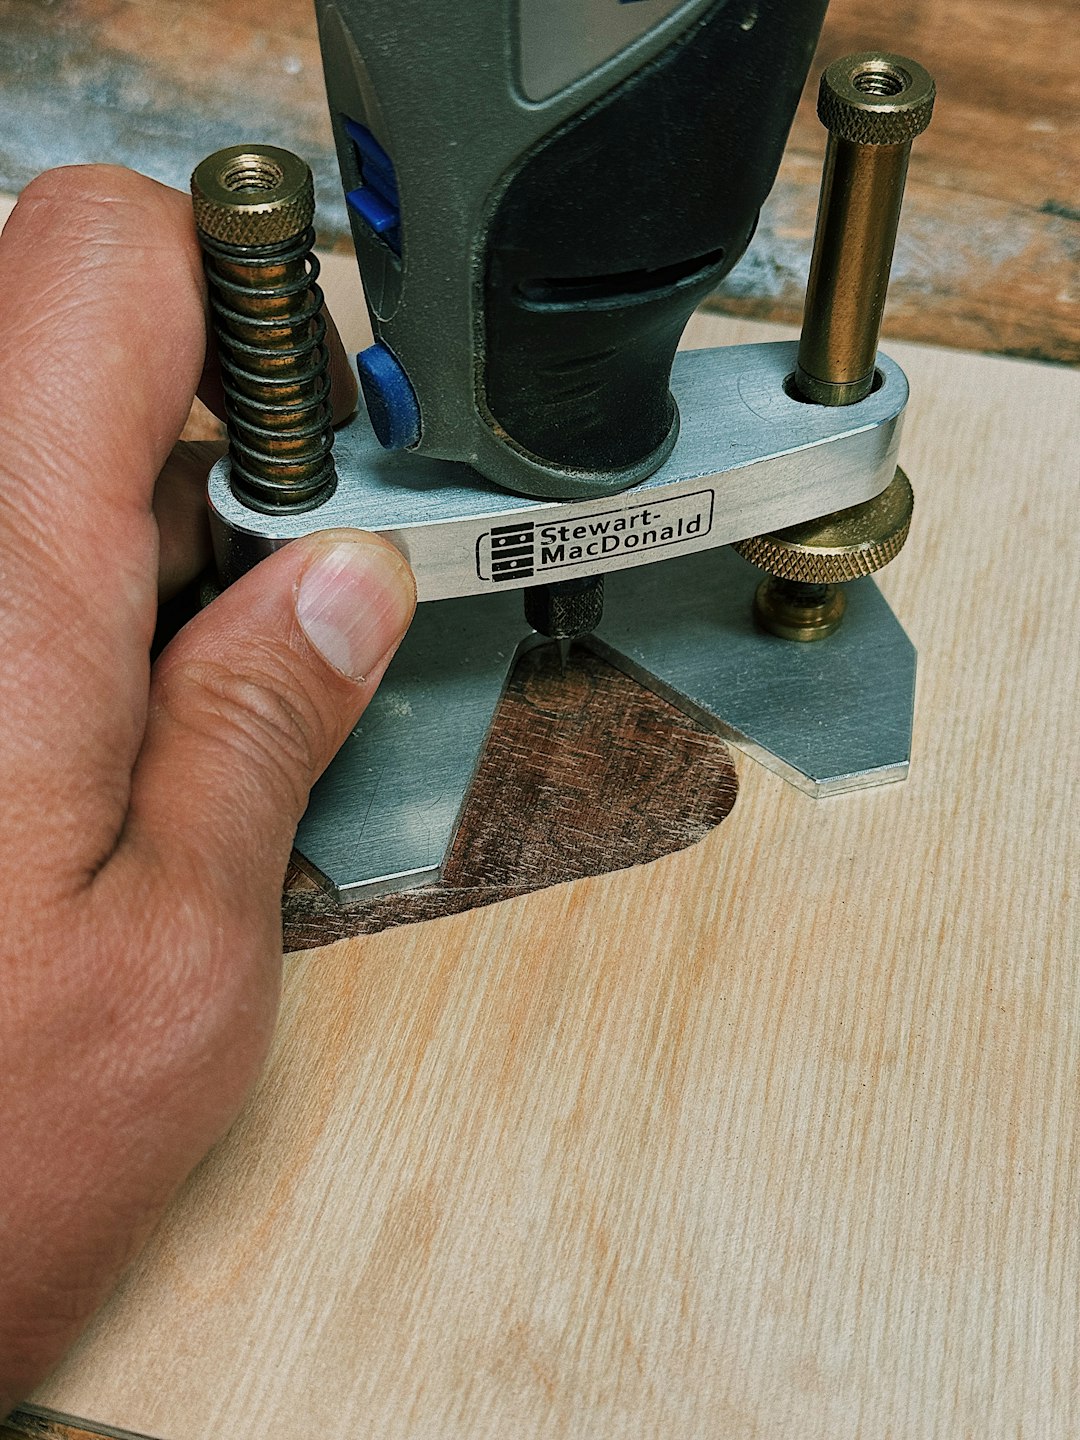
If the picture shows a hand holding a part, you can tell how big it is, or where it goes relative to other parts. That’s super helpful!

7. Skip the Guesswork—Match Everything
No guesswork here. Your parts should match the drawing 100%. If something looks off, stop.
Here’s a trick:
- Hold your piece over the instruction drawing to compare shape and size.
- If it has holes or grooves, check if they match the drawing exactly.
Also, many instructions use rulers or grid lines in the image. Use those to measure your actual part!
8. Use the Right Tools (and Know When to Ask for Help)
Most builds come with tools, but sometimes you need your own:
- Phillips screwdriver
- Allen wrench (aka hex key)
- Small hammer or rubber mallet
Don’t force pieces if they don’t fit. You might be on the wrong step—or using the wrong part.
And hey—there’s no shame in asking a buddy or parent for help. Two brains are better than one, especially in step 35 when you can’t find Part D!
9. Test As You Go
If you’ve built something that moves, folds, opens, or locks—test it each step.
- Does the drawer slide smoothly?
- Do those wheels turn?
- Does the plank sit level?
It’s easier to adjust early than to disassemble later. Many instructions show little “Test it!” arrows or diagrams.
10. Take Breaks and Enjoy the Process
If you feel stuck, take a break. Grab a snack. Shake out your hands. Look at the instruction again with fresh eyes.
Building is like solving a fun mystery. Take your time, enjoy the “aha!” moments, and celebrate each step completed!
Final Thoughts
Visual instructions are a gift. They make building clearer, faster, and sometimes even fun! Learn to read the visuals, follow each step, and be patient. The end result? A cool object built by you! 💪
Remember, mistakes happen. Just backtrack a step or two and try again. Every great builder started with “uh-oh, this doesn’t look right.” You got this!