
When upgrading your PC’s processor, few things are more exciting—or frustrating—than booting up for the first time, only to find your system stalling on the “New CPU Installed” page in the AMI BIOS. This page is meant to confirm the presence of a new processor and allow the user to continue setup, but what if nothing happens? The keyboard doesn’t respond, and you can’t get past the screen? Don’t worry—this is more common than you think, and better yet, there are solutions.
TL;DR:
If your AMI BIOS gets stuck on the “New CPU Installed” page and won’t let you proceed, the issue may be as simple as a disconnected USB keyboard, an outdated BIOS version, or incompatible motherboard firmware. Try clearing the CMOS, using a wired keyboard in different USB ports, or updating your BIOS. These straightforward steps often resolve the problem without the need for advanced troubleshooting.
Why Does the “New CPU Installed” Page Freeze?
AMI BIOS (American Megatrends International BIOS) is an essential firmware interface for your motherboard. When it detects a new CPU, it loads a configuration screen to initialize the system with the latest hardware changes. Occasionally, however, this screen can become unresponsive. Here are some common causes:
- Incompatible CPU: The motherboard may not support your new processor out of the box.
- Outdated BIOS: Your BIOS version might be too old to recognize the new processor’s microcode.
- Keyboard not detected: USB or wireless keyboards may not be initialized at this early boot stage.
- Corrupt CMOS settings: Leftover BIOS settings from your previous configuration could be conflicting with the new CPU’s requirements.
Initial Checks to Perform
Before jumping into complex troubleshooting, follow these basic steps to see if you can resolve the issue quickly:
1. Check Your Keyboard Connection
Though it may sound obvious, many users find the BIOS screen unresponsive due to the BIOS not recognizing their keyboard input. Try these fixes:
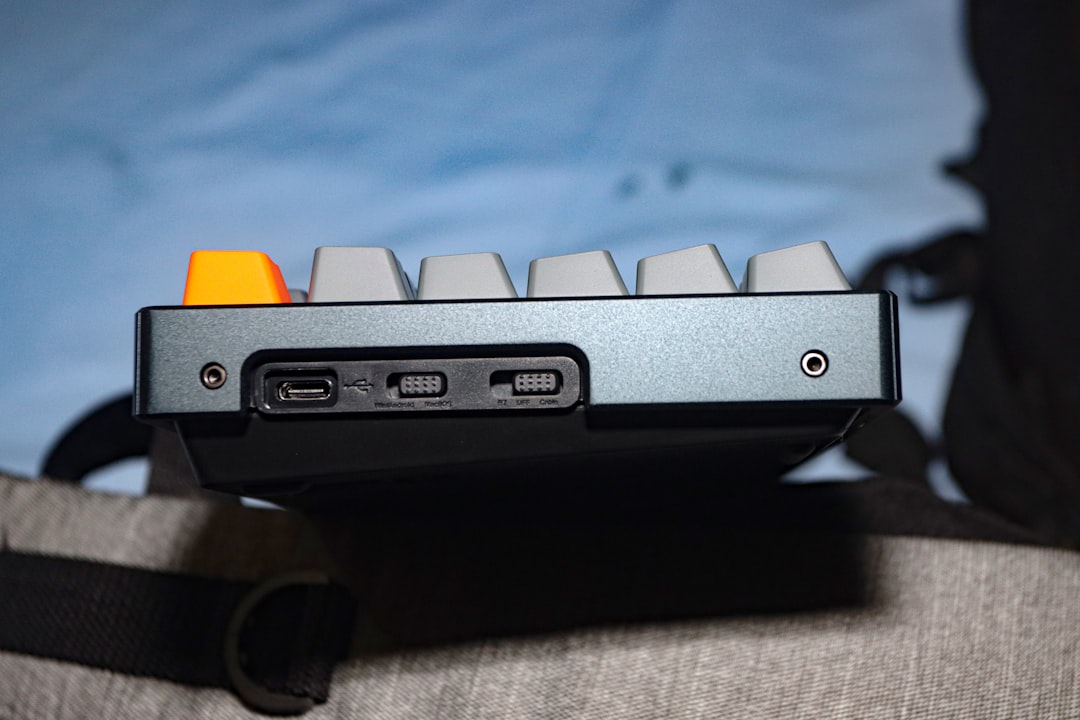
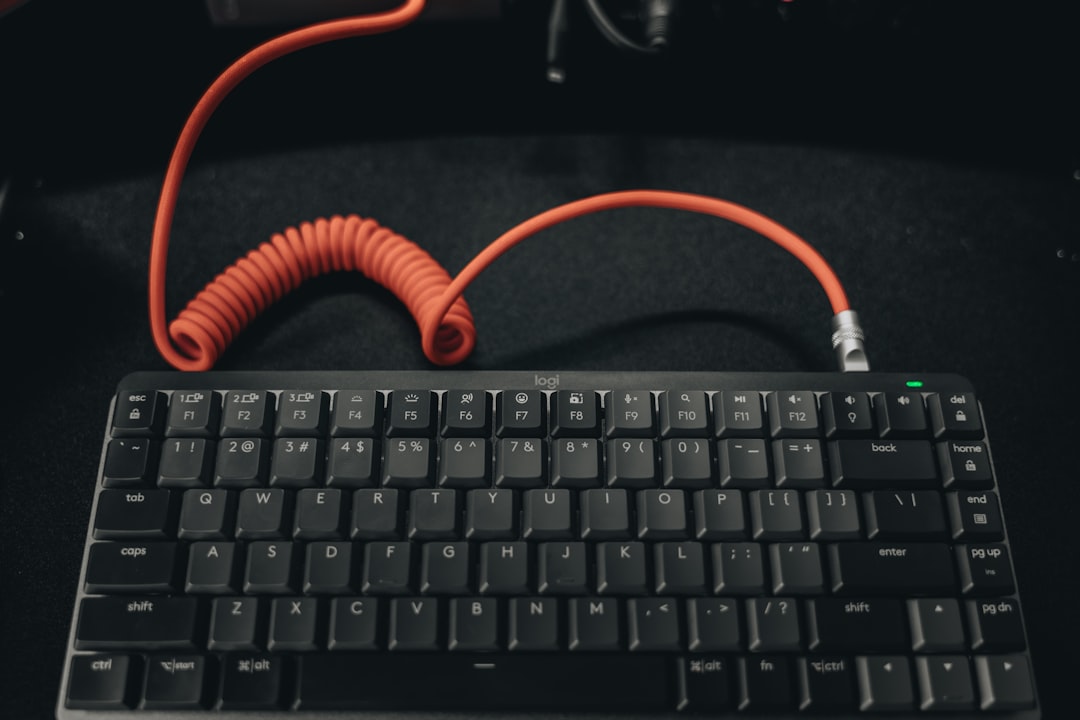
- Use a wired USB keyboard instead of a wireless or Bluetooth version.
- Plug your keyboard into the USB 2.0 ports on the back panel (instead of USB 3.0 or front-case ports).
- Try using a different keyboard to rule out device compatibility issues.
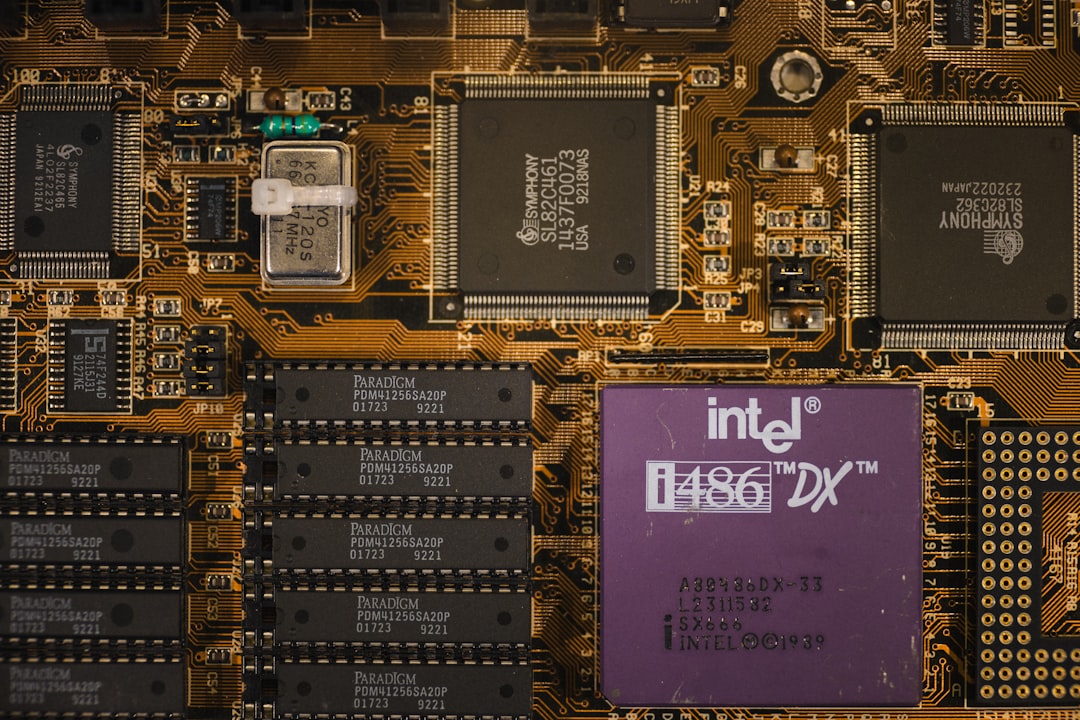
2. Confirm CPU Compatibility
Visit your motherboard manufacturer’s website to confirm if the new processor is officially supported. Manufacturers often provide a CPU compatibility list by motherboard model and BIOS version. If your CPU isn’t supported, you may need a BIOS update before installation—and that presents a catch-22 situation if the system won’t boot.
Pro Tip: Some motherboards support “BIOS Flashback,” which allows you to update the BIOS using a USB drive without needing a CPU installed.
Advanced Troubleshooting Methods
If the issue persists after checking peripherals and compatibility, it’s time to dive deeper.
1. Clear the CMOS
Resetting the CMOS clears any saved BIOS settings, forcing the motherboard to initialize new hardware from scratch. Here’s how you can do it:
- Power down your PC and unplug it from the wall socket.
- Locate the CMOS battery on your motherboard (a small coin-cell battery).
- Remove the battery for 5–10 minutes and then re-insert it.
- Plug the system back in and power on.
Alternatively, use the CMOS jumper (usually labeled CLR_CMOS or JBAT1) as per your motherboard’s manual. This action often clears up boot issues related to hardware changes.
2. Update Your BIOS
If the motherboard was manufactured before your CPU model existed, it may require a newer BIOS version to recognize and properly initialize the CPU. Check your motherboard support page for BIOS updates, and follow the update instructions:
- Download the correct BIOS update to a USB flash drive.
- Boot into BIOS using another compatible CPU (if available) or use a BIOS Flashback feature if supported.
- Execute the update process, usually found under the “Tools” or “Advanced” section of the BIOS.
Warning: Flashing your BIOS carries some risk. Ensure the update is correct for your motherboard model, and never interrupt the process once started.
3. Try Booting with Minimal Hardware
Disconnect all non-essential components and leave only the following connected:
- CPU
- One stick of RAM
- GPU (if your CPU doesn’t have integrated graphics)
- Keyboard
- Monitor
This configuration cuts down the variables and helps identify whether another component is causing a conflict.
When All Else Fails: Consider RMA or a Temporary CPU Swap
If you’ve cleared the CMOS, tried multiple keyboards, and confirmed CPU compatibility but the system still hangs, there are two options left:
1. Use an Older Compatible CPU
If you can access or borrow a compatible CPU that doesn’t need a BIOS update, you can install it temporarily, boot into BIOS, and perform the update. Once updated, you can reinstall your new processor.
2. Contact Manufacturer Support
It’s entirely possible your motherboard has a defect, or the new CPU is faulty. If all troubleshooting fails, get in touch with the motherboard or CPU manufacturer for an RMA (Return Merchandise Authorization).
Preventing Future BIOS Boot Issues
Now that your system is running again (hopefully), consider taking steps to avoid repeating the problem during future hardware upgrades:
- Register your motherboard for quicker support access and compatibility updates.
- Keep BIOS updated to the latest stable version when released.
- Research CPU compatibility before making purchase decisions.
- Use a wired keyboard during boot processes that involve configuration changes.
Conclusion
Encountering a frozen “New CPU Installed” screen on an AMI BIOS can be daunting, especially when you’re eager to get back to gaming or work. Thankfully, most of these cases stem from simple issues like keyboard recognition, outdated firmware, or minor hardware mismatches. By following a structured approach—starting from peripheral checks to BIOS updates—you can usually resolve the issue without specialized tools or replacing components. So take a deep breath, follow these steps, and soon you’ll be enjoying the benefits of your upgraded CPU.